Penny installation guide
All the tips for installing your Penny tiles
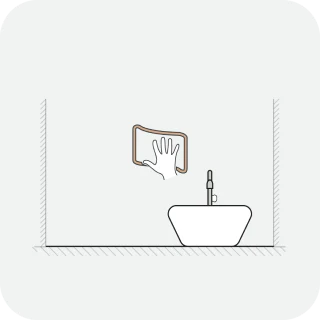
1. Clean the entire surface with a degreaser such as TSP (trisodium phosphate). It is not recommended to use dishwashing liquid to wash the walls.
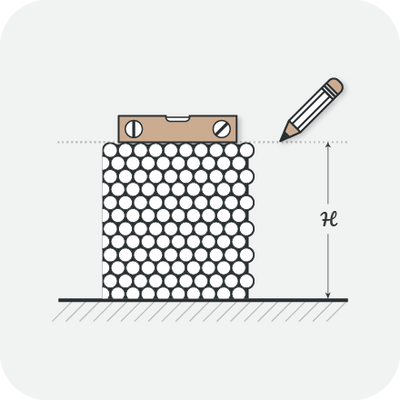
2. Mark your wall with a level line at the height of the first row of tiles to indicate where the top of your tile will align.
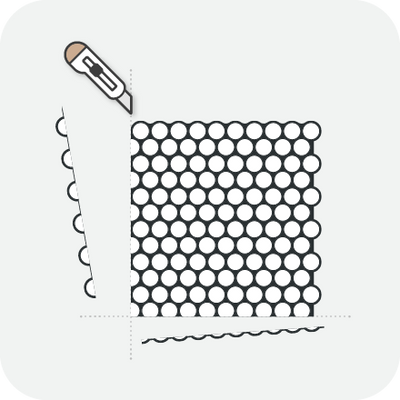
3. On the first tile in the row, cut off the left excess using a precision blade.
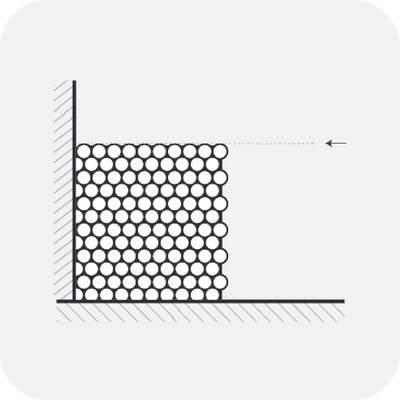
4. Apply the other tiles one after the other, trying to properly align your tiles, patterns & grout. When aligning your tiles, be sure to overlap the letters/numbers along the grout lines to ensure they are not visible.
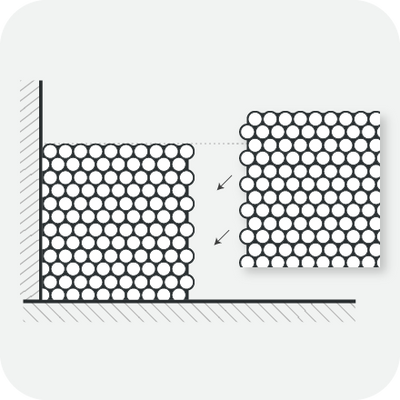
5. Apply the other tiles one after the other, trying to properly align your tiles, patterns & grout. When aligning your tiles, be sure to overlap the letters/numbers along the grout lines to ensure they are not visible.
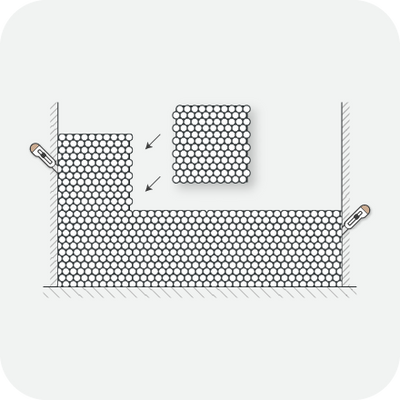
6. Repeat the process for the entire wall, removing the ends at the start and end of the rows.

7. After 48 hours, the installation becomes permanent. All you have to do is enjoy your new decoration.
Note: The letters/numbers printed on Smart Tiles are for production purposes only. To determine the desired pattern of your Smart Tiles, we recommend laying out the tiles on your work surface before installing them on the wall. When aligning your tiles, be sure to overlap the letters/numbers along the grout lines to ensure they are not visible.
About our Smart Adhesive: Our adhesive technology doesn't seem to stick well enough? This is quite simply because it has been designed not to stick to your skin! We designed it to allow you to reposition the tiles during installation and it permanently attaches to the wall within 48 hours after being stuck to the surface. If possible, avoid touching the adhesive with your fingers during installation, press firmly once the tile is in the right place and you will be set for years of satisfaction with your new tile. cor!
For FIREPLACES, Smart Tiles can be installed on a surface whose temperature does not exceed 49°C (120°F) . It is important to avoid direct contact with a heat source and direct exposure to an open flame.
Video Tips

How to install your tiles - Step by step

How to clean your wall before installing Smart Tiles

How to install Smart Tiles on a wall with a convex angle

How to cut Smart Tiles adhesive tiles around an electrical outlet

How to install Smart Tiles on a wall with a concave corner

How to install Smart Edge trim strips

How to remove Smart Tiles

Recommended tools for installing Smart Tiles

What are the ideal surfaces for installing Smart Tiles?


